Exterior Painting Preparation Process
Why Exterior Paint Prep Matters
Exterior paint fails when preparation is rushed or skipped.
Sun exposure, moisture, heat, and surface movement all stress exterior coatings. Proper preparation ensures paint adheres correctly, resists peeling, and performs as intended in harsh outdoor conditions.
Our exterior prep process focuses on surface stability, moisture control, and adhesion—the foundations of a long-lasting exterior paint job.


Step-by-Step Exterior Painting Preparation
Exterior Washing & Surface Cleaning
All exterior surfaces are cleaned before any prep or paint begins.
Cleaning removes:
Dirt and dust
Pollen and environmental residue
Mold, mildew, and chalking
Loose surface contaminants
Cleaning methods are selected based on surface type to avoid damage. All surfaces must dry fully before repairs, sanding, or priming.
Scraping & Sanding Failing Paint
Loose or failing paint must be removed before new coatings are applied.
Exterior prep includes:
Scraping peeling or flaking paint
Sanding edges to feather transitions
Smoothing rough or uneven surfaces
After sanding, all dust and debris are removed to ensure proper primer adhesion.
Exterior Surface Repairs
Before painting, damaged areas are addressed to create a stable surface.
Repairs may include:
Securing loose wood siding
Filling cracks and minor surface damage
Repairing small wood defects
Addressing minor stucco cracks or chips
Severely damaged materials are identified and discussed before painting proceeds.
Masking & Property Protection
Non-painted areas are protected before priming or painting begins.
Protection includes:
Windows and glass
Doors and hardware
Roofing and concrete
Landscaping and fixtures
Masking materials are applied securely and removed carefully after paint sets.
Caulking Gaps & Seams
Exterior caulking seals gaps that allow moisture intrusion.
This includes:
Trim joints
Siding seams
Window and door transitions
Exterior-grade, paintable caulk is applied, tooled smooth, and allowed to cure fully before paint application.
Priming Exterior Surfaces
Primer is applied where needed to:
Seal bare wood or exposed substrate
Improve paint adhesion
Prevent premature peeling or failure
Create a uniform surface for finish coats
Priming always follows cleaning, repairs, sanding, and caulking.
Exterior Prep Sequencing Matters
Exterior preparation follows a strict order:
Washing
Surface repairs
Scraping and sanding
Masking and protection
Caulking
Priming
Skipping or reordering steps compromises durability and shortens the life of the paint system.
How Proper Prep Protects Your Home
Correct exterior prep:
Extends paint lifespan
Improves resistance to moisture and UV exposure
Prevents early peeling and cracking
Protects underlying materials
Preparation is what allows exterior paint to perform year after year—not just look good on day one.
Related Exterior Painting Resources
→ Explore Exterior Painting Services
→ What to Expect During Your Painting Project
→ Understand How Preparation Affects Painting Costs
Exterior Preparation FAQs
Why can’t exterior surfaces be painted right away?
Exterior surfaces must be clean, dry, and stable. Painting over dirt, chalk, or moisture leads to early paint failure.
Is exterior prep different for each home?
Yes. Prep requirements vary based on surface type, age, exposure, and condition.
Do repairs need to be completed before painting?
Yes. Repairs create a stable surface and prevent paint from failing prematurely.
Does exterior prep add time to a project?
Preparation takes time, but it significantly increases durability and reduces long-term maintenance.
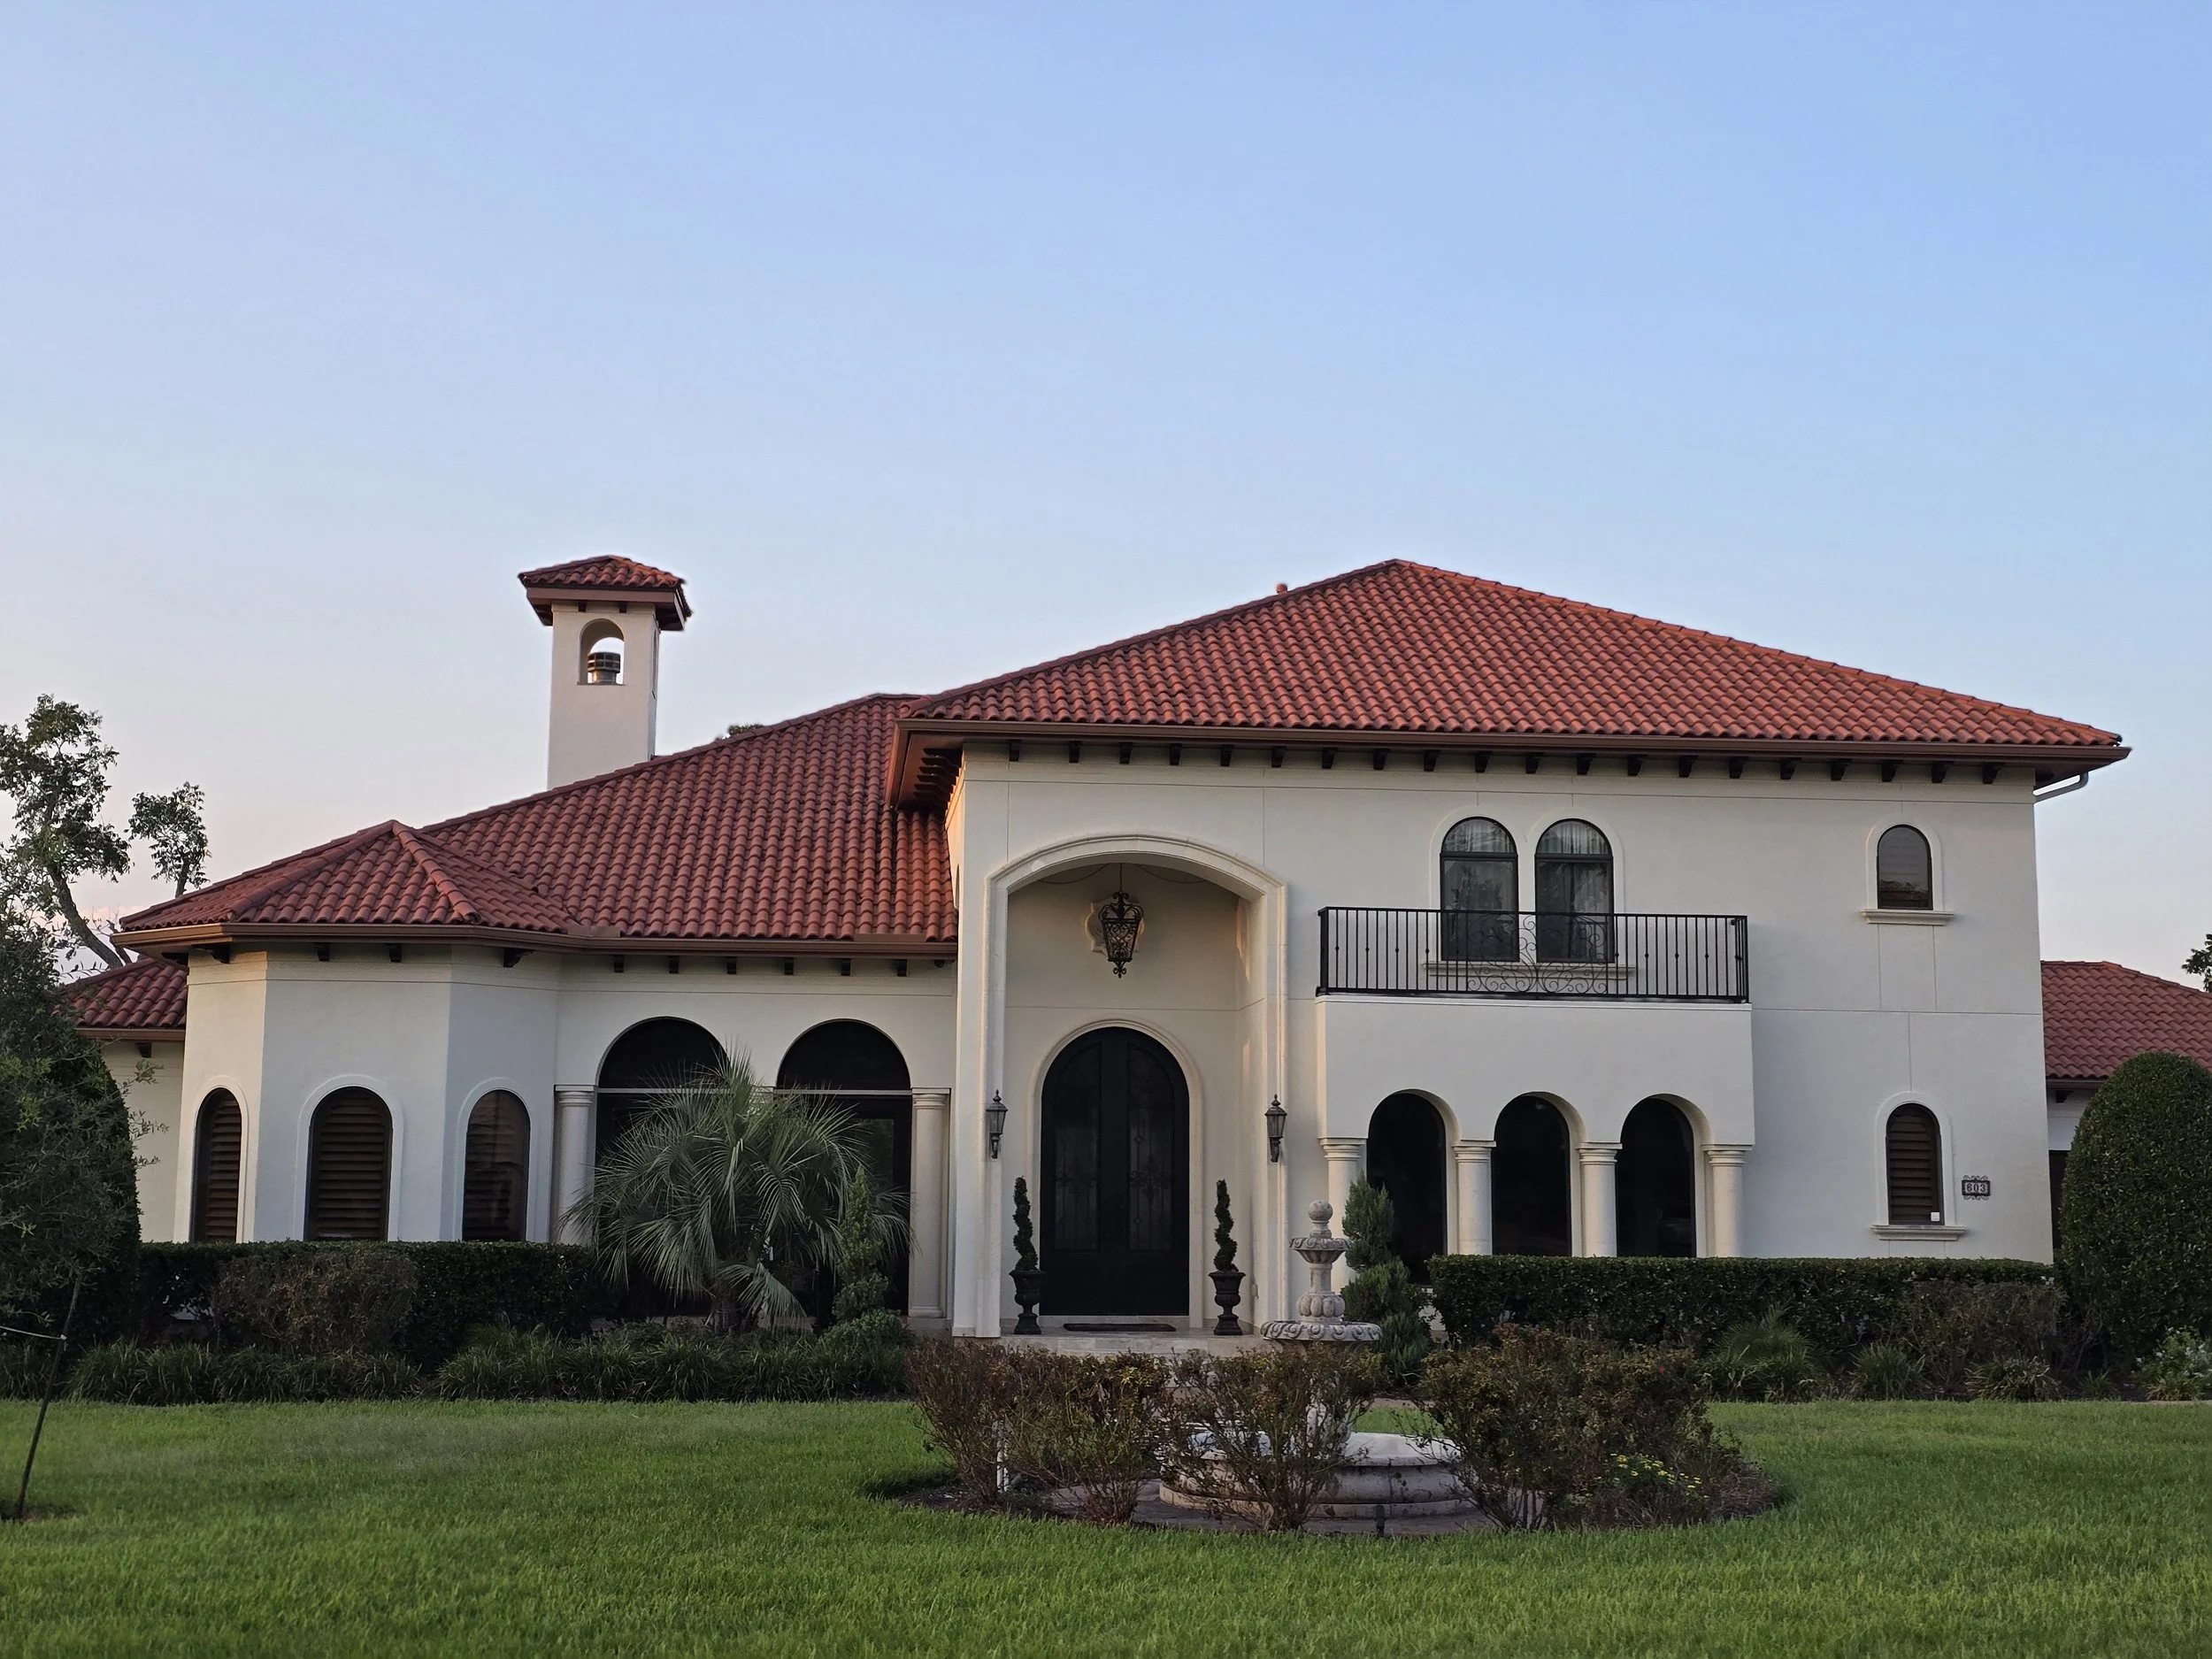
See This Process in Real Projects
The best proof of preparation is performance.